gas-saf-register logo

You Have A Leaking Boiler? Here’s What You Should Do!

Leaking Boiler

A leaking boiler is no joke. In fact, it’s so serious, you can’t just choose to ignore it, because doing so would pose you and the rest of your household with some potential risks. Such leaks can lead to the rusting of your boiler’s external and internal component, or worse the short-circuiting of the electrical components inside your boiler. That is why it is crucial that you get the problem fixed as quickly as possible when you notice that your boiler has started to leak. It is, however, important to note that repairing a leaking boiler is not some DIY job, but instead one for gas safe registered engineers

The following tips are not for you to perform the repair job on your own, but rather some tips on how to determine the presence of a boiler leak, what you should do in the event of one, and the risks of ignoring a leaking boiler. 

Signs of Boiler Leakages

For you to know that your boiler is leaking, you should be on the lookout for the following signs. 

To make a booking or to find out more about our services!

Water and water damage

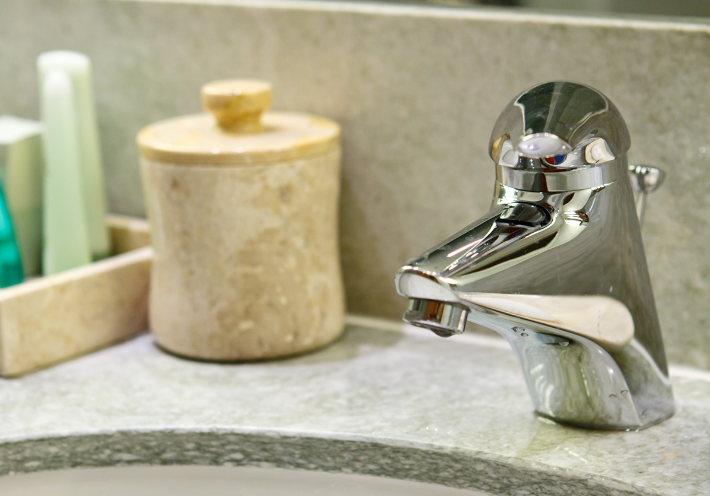
To put it simply, it is not a good sign when your boiler is leaking water. Water is the telltale sign of a leaking boiler system. If you notice water dripping or a pool of leak water or moisture around and underneath your boiler, then your boiler probably is leaking.

Additionally, if there is water damage anywhere around your boiler, you’ve probably got a boiler leak longer than you realize. 

Slow heating process

A boiler working in perfect order would power up the heat on your tap or central heating systems almost instantly. If this is not the case, then your boiler may be damaged or leaking.
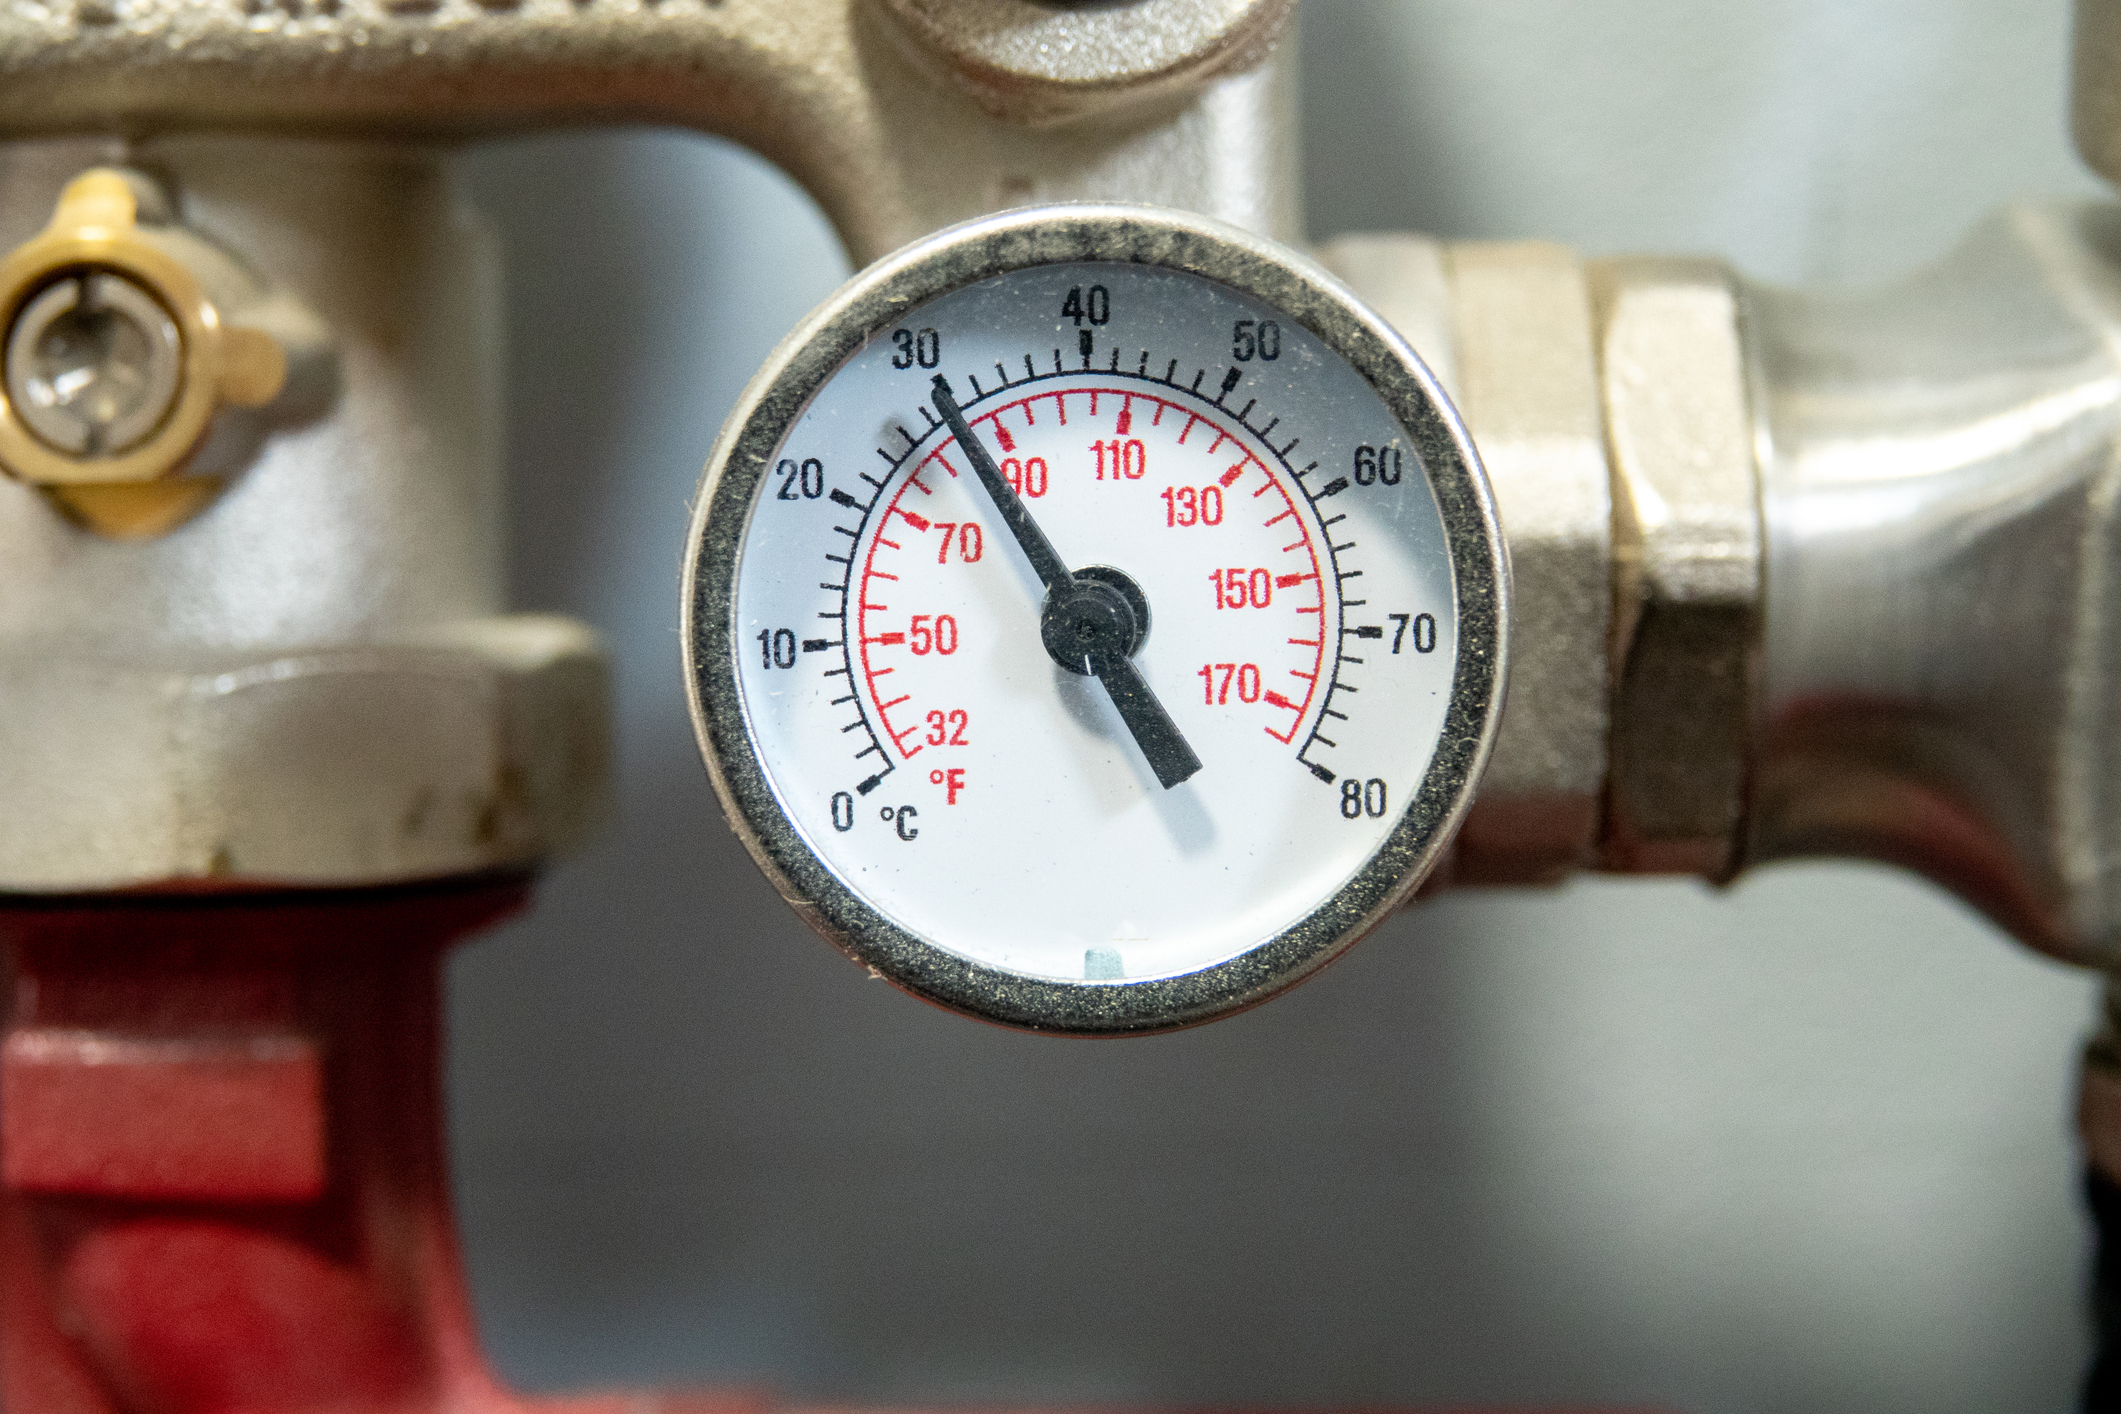
Low water pressure

This one is exceptionally easy to spot on combi boilers and system boilers that have a pressure gauge. Boiler pressure dropping is another sign that something is wrong with your boiler system. In cases like these, you may want to start trying to locate the leak, but again, do not attempt to repair the boiler yourself. Just knowing where the leak is can help your engineer diagnose and repair your boiler.

Common Causes of a Boiler Leak

While trying to stop the leak yourself is not advisable, it would be smart of you to know what exactly caused it. Here are some of the usual causes of a leak in your boiler:

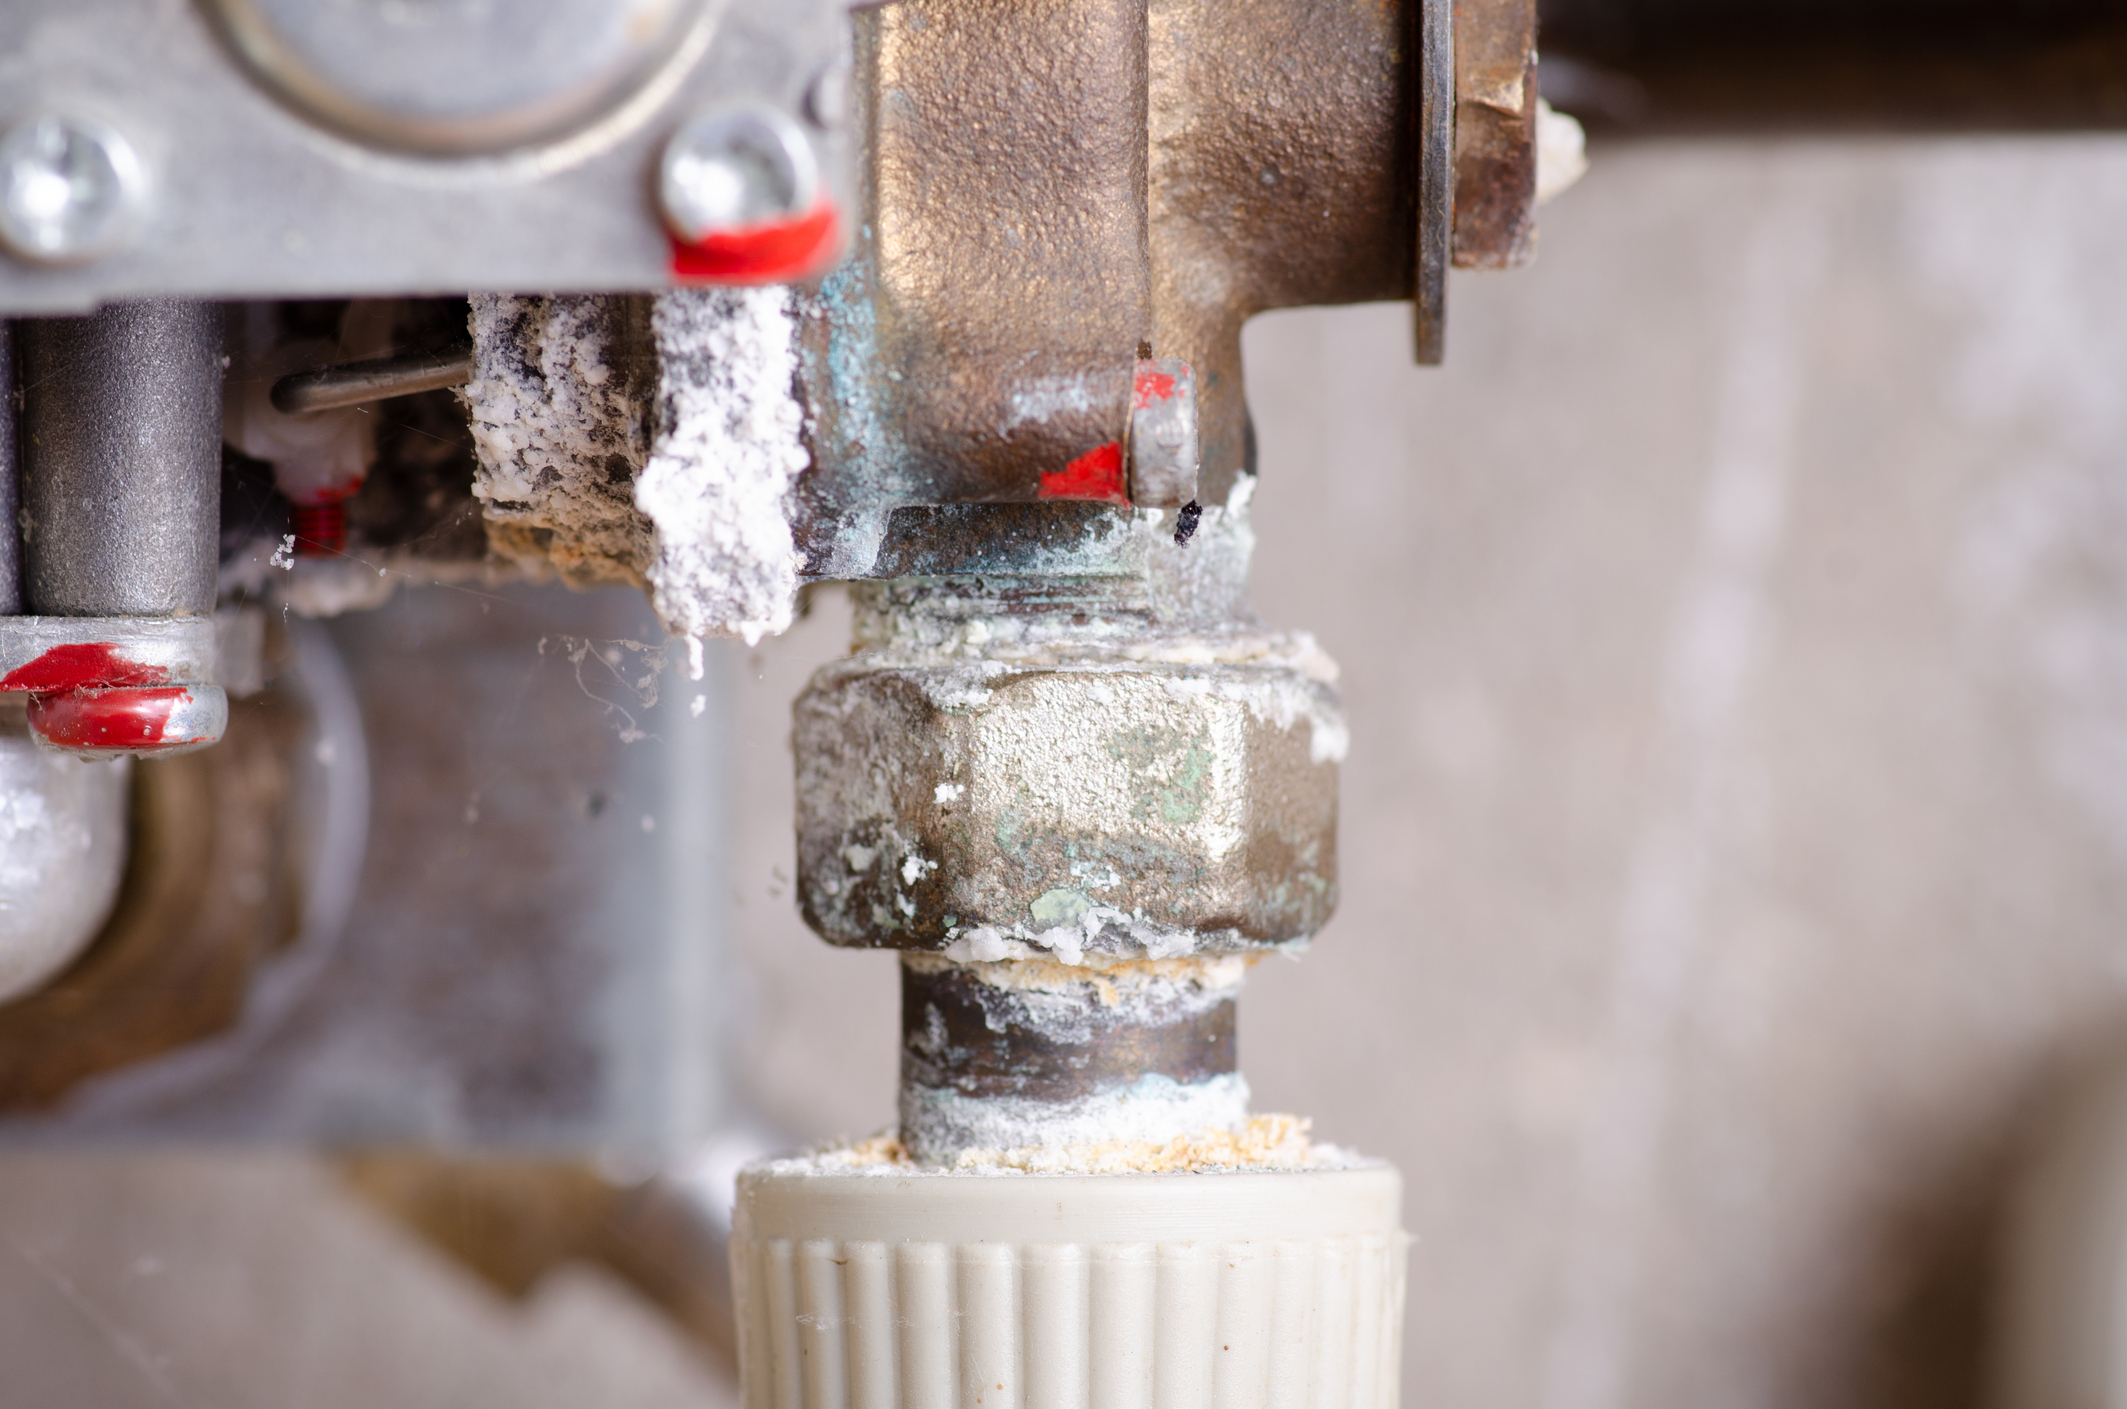
System Damage/Corrosion

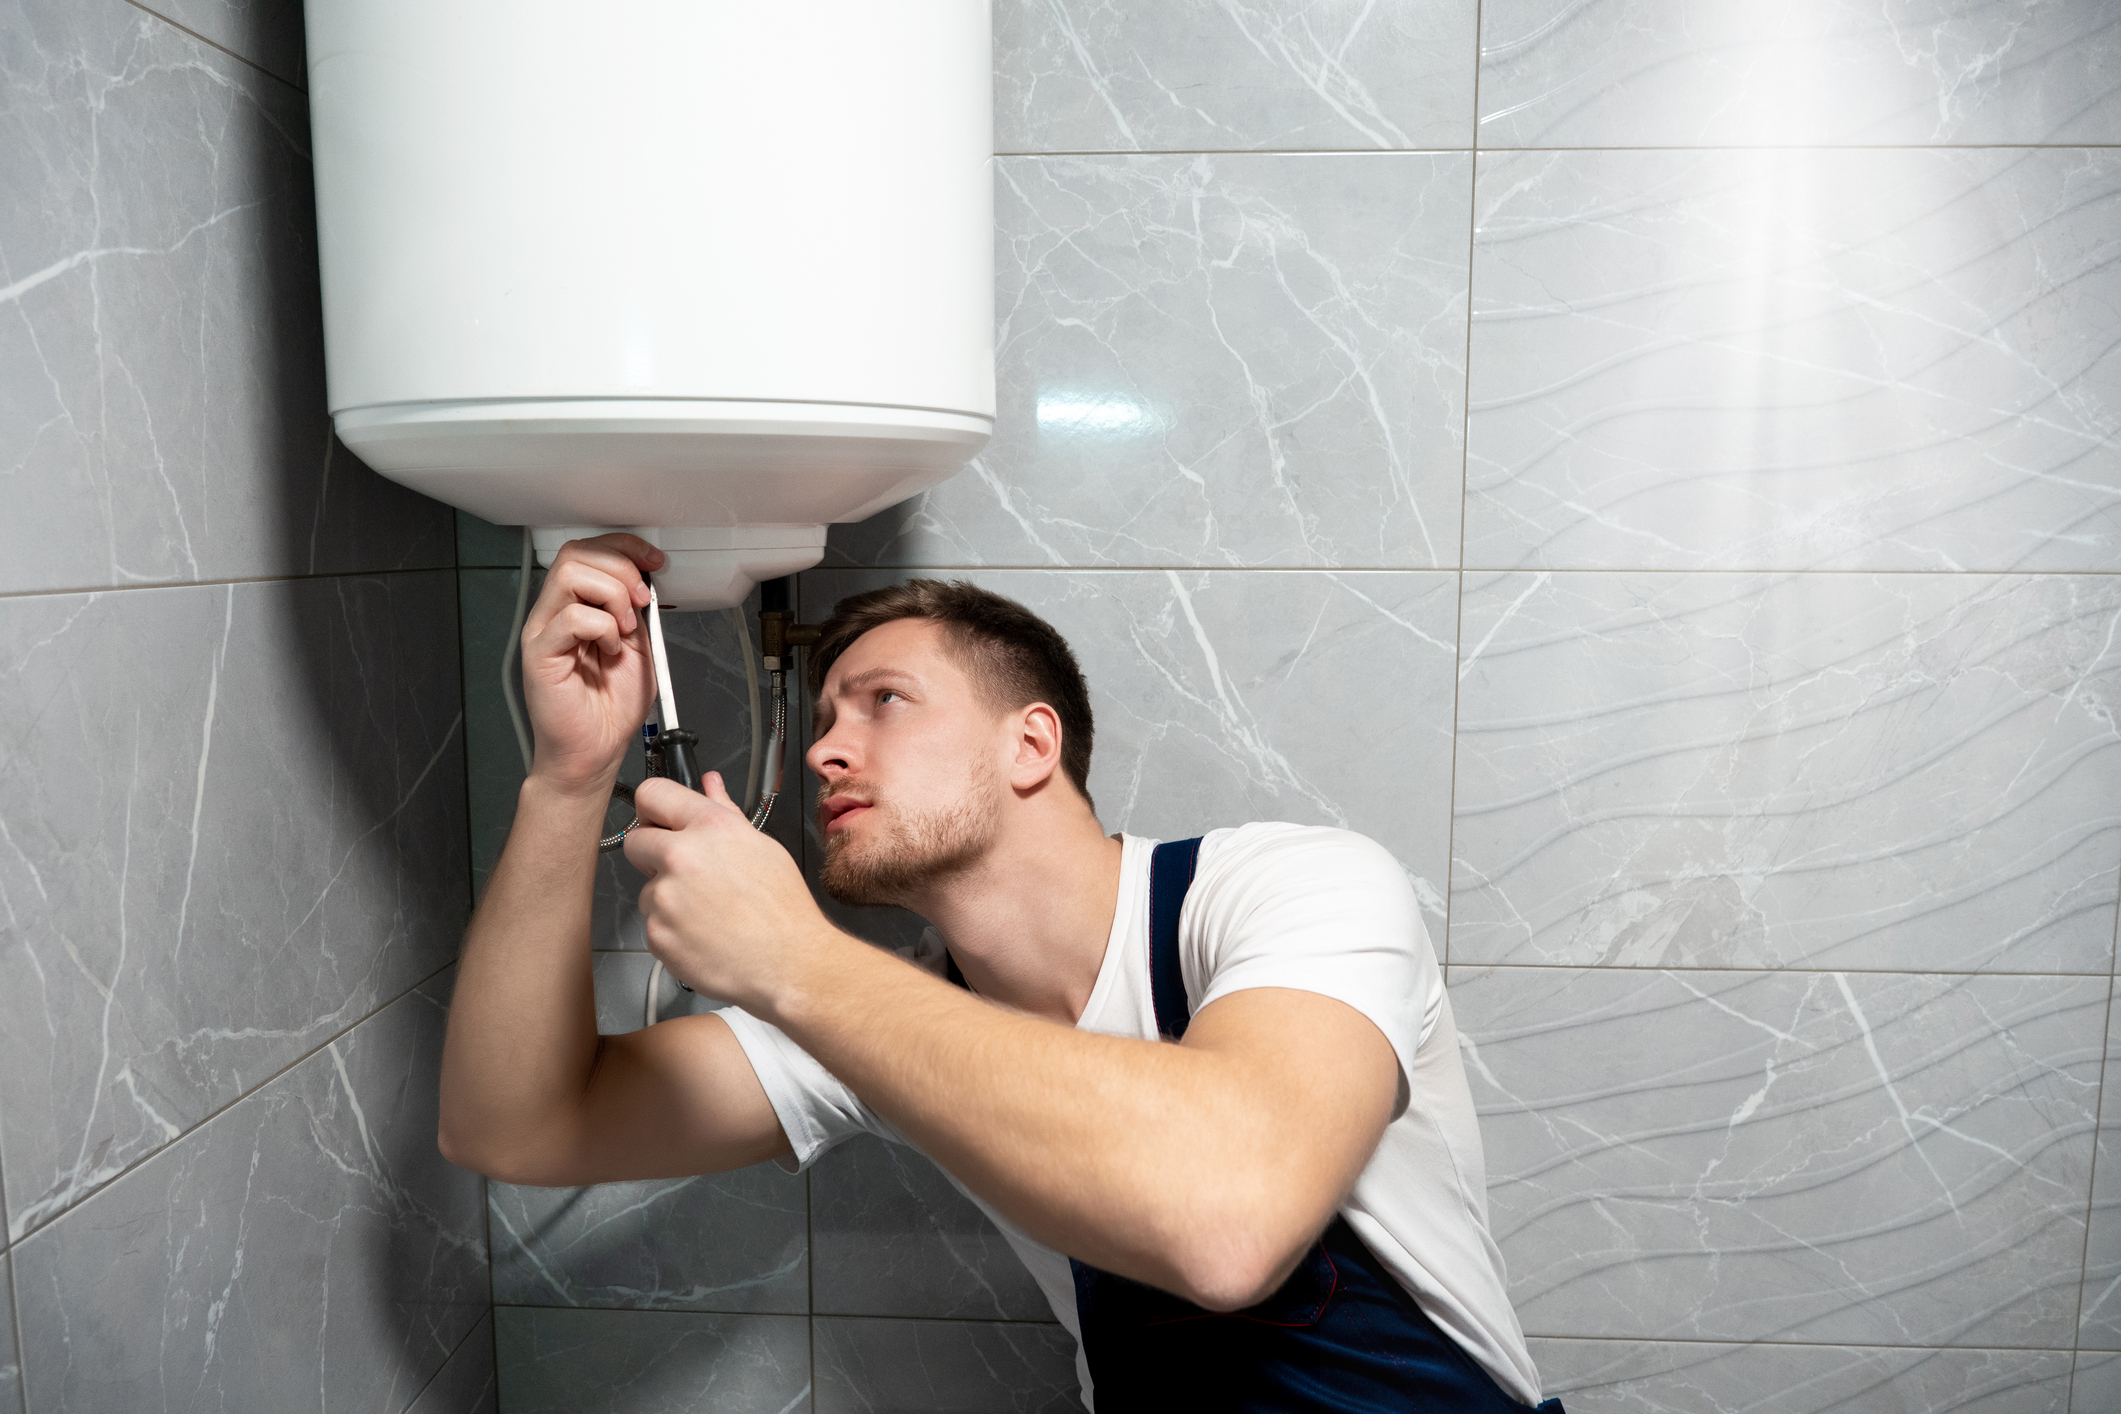
The most common cause of a boiler leak is damage in the pipework and overall system. Over time, the combination of the water and the metallic debris within the system will naturally corrode your pipes and your boiler’s components, eventually making gaps that are big enough for water to escape. 

If the corrosion is isolated in one part of your boiler system, then a gas safe engineer would be able to replace the component without any issues. However, if the damage is extensive, then you may have to replace your boiler. 

Pressure Issues

While low water and boiler pressure is also a sign of a leaking boiler, too much boiler pressure can also be a culprit to the leak. If your boiler is leaking from the boiler pressure valve, then it’s best to check if your boiler pressure is too high. To determine, simply check the pressure gauge and make sure that it is in the green or safe zone. If it is, then you may use the pressure relief valve to ease some of the pressure on your boiler, thus preventing further damage to your home and your appliances.

Although bleeding your boiler ideally is something you can do on your own, limescale and other obstructions in your system are often involved. That is why, to be cautious, this is something that you may want to pass on to a gas safe registered engineer.

Temperature Probe Problems

If the leak is coming from your boiler’s temperature valve, then there is a probable issue in the temperature probe. For such problems, you may refer to a gas safe engineer. 

Internal Seal Damage

A boiler’s whole system is sealed, that’s how it works. However, the wear and tear eventually cause the rubber seals inside your boiler to harden or even break. While this is usually more common in old boilers, it can also happen to new boilers that have been running overpressure. This, in turn, can cause water to leak out of your boiler. To find out if this is the case, you may open the boiler cover and take a peek at the inside of your boiler. However, you must remember not to touch anything. 

Damaged Heat Exchanger

Unfortunately, this is not something you can identify for yourself. Additionally, most of the time, when your boiler has issues with the heat exchanger, it is almost often beyond economical repair. The heat exchanger is the most expensive part of a boiler, and trying to salvage your boiler by getting this fixed would probably just be a pinch cheaper than getting a new boiler altogether. 

If a gas engineer diagnoses your boiler with heat exchanger damage, you may want to start getting a quote online for a boiler replacement. 
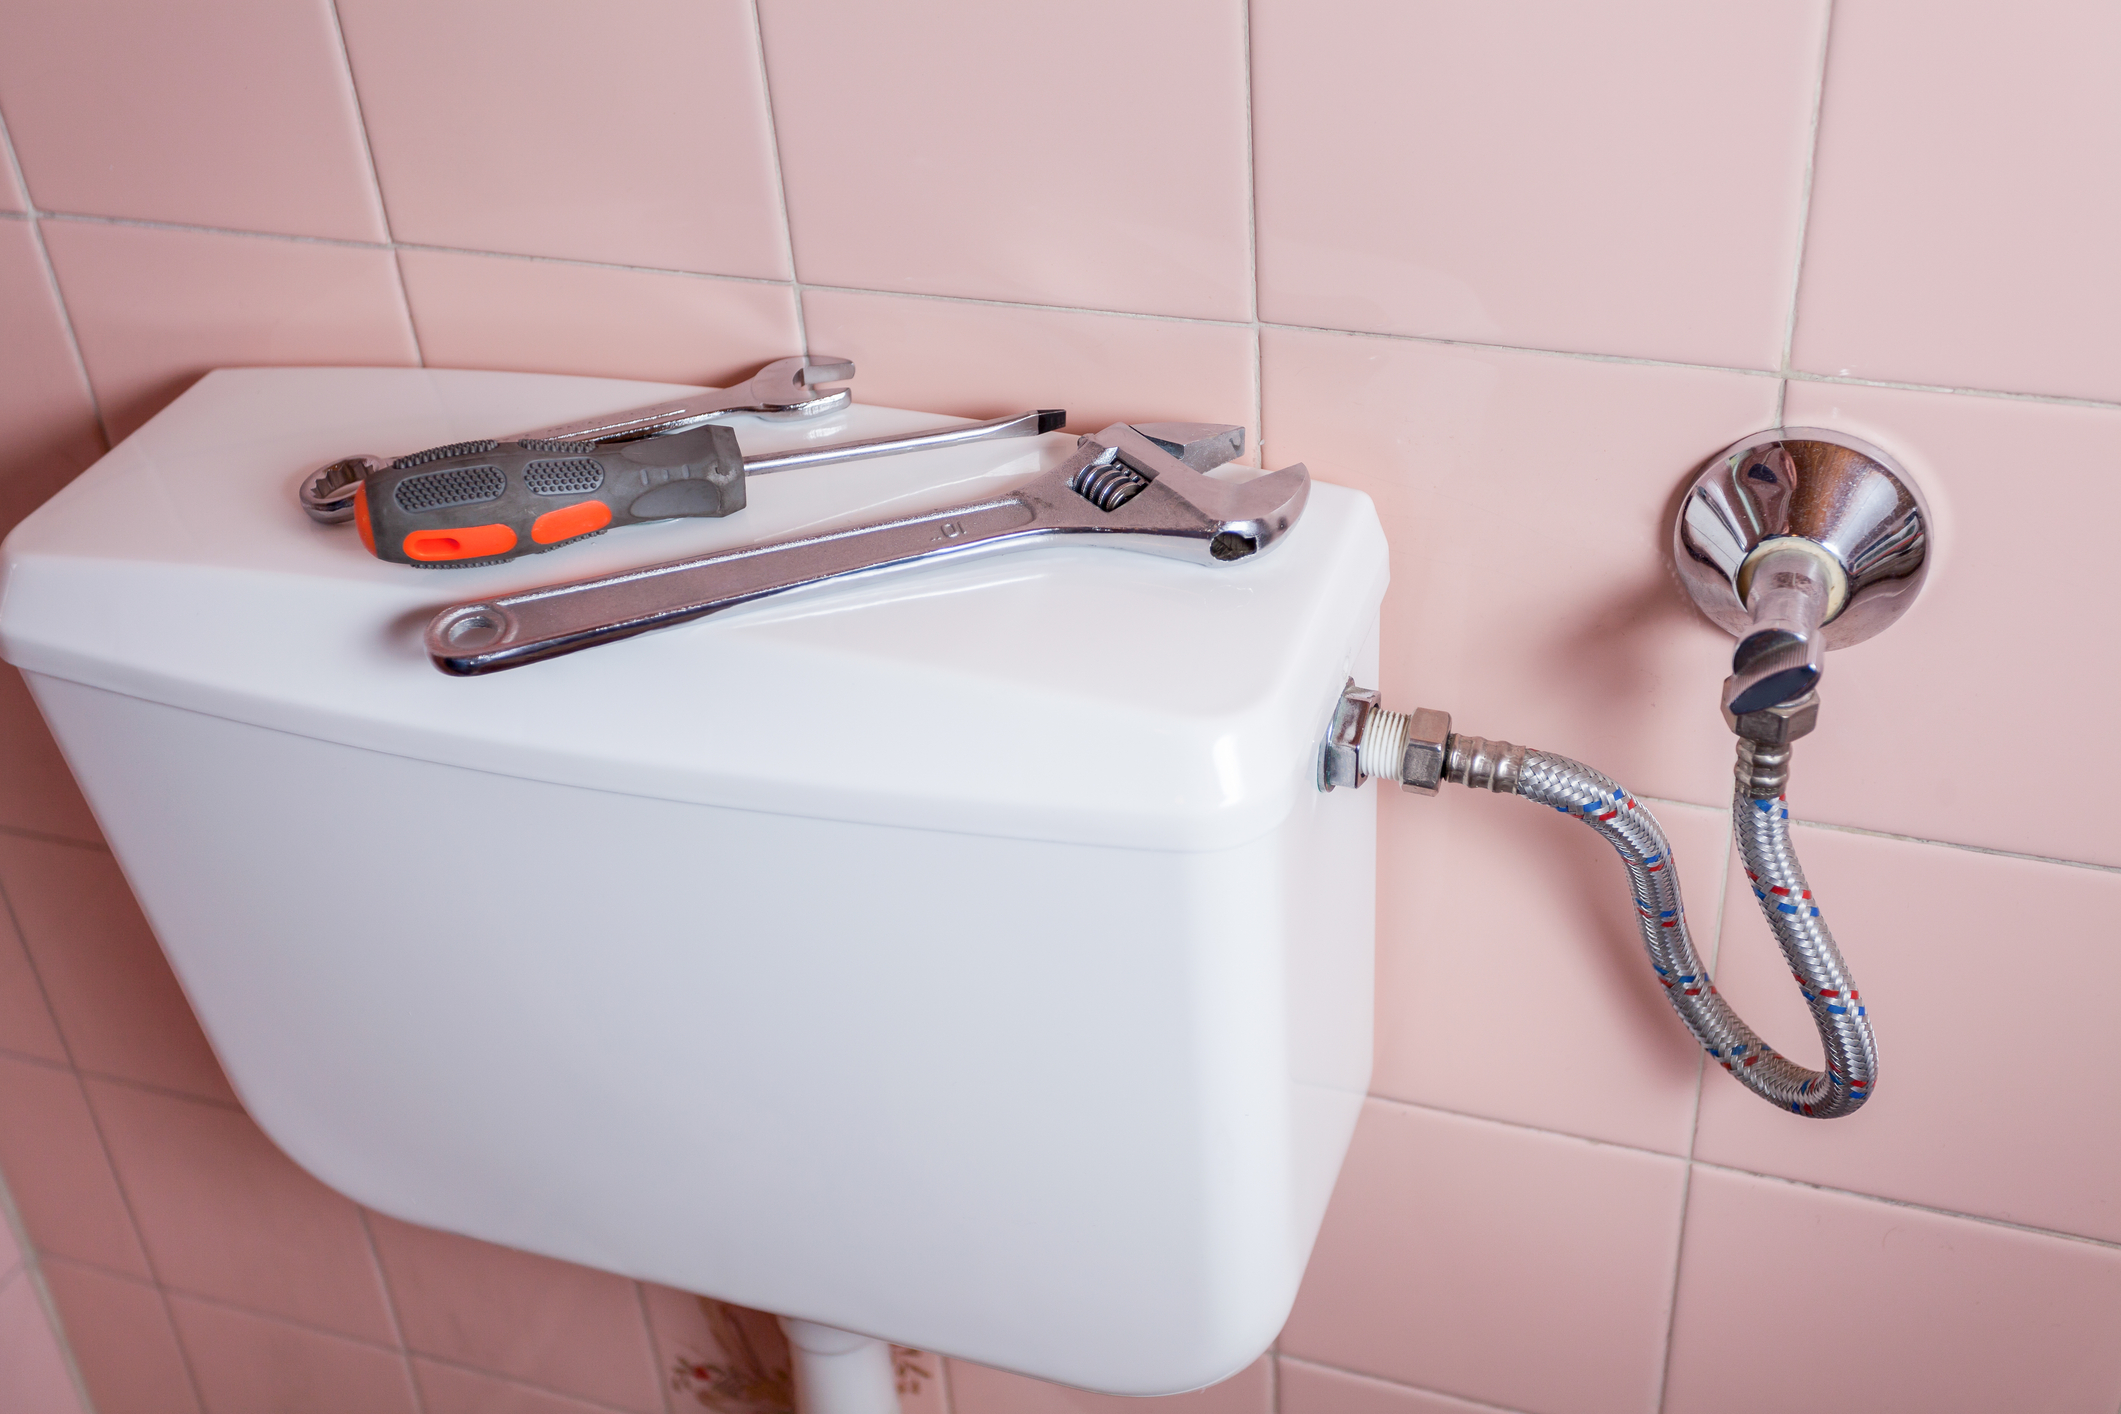
Installation Faults

If your boiler is leaking at the pipe fittings, then chances are there has been an installation fault. If this is the case, you will want to call for a gas engineer to look over your entire boiler system to make sure there are no loose joints, poorly sealed pipe fittings, etc. 

Is A Leaking Boiler Dangerous?

If left unchecked, yes. It could cause electrical components to short circuit. This, in turn, could affect the power supply in your entire home. Additionally, it can be a health hazard if there is extensive water damage caused by a boiler leak. Water damage in your home can cause the growth of mould and fungi, which both have dangerous effects on one’s health. When exposed to moulds and fungi, one could experience a blocked nose, coughing, sneezing, difficulty breathing, and asthma. It may also cause structural damage, which will pose many physical risks to anyone in your home.

How Do I Prevent Potential Boiler Leaks In The Future?

Boiler leaks occur, and there’s no preventing that. However, to minimize the chances of it ever happening in your home, you may want to consider the following:

  • Look into buying big name boiler brands.
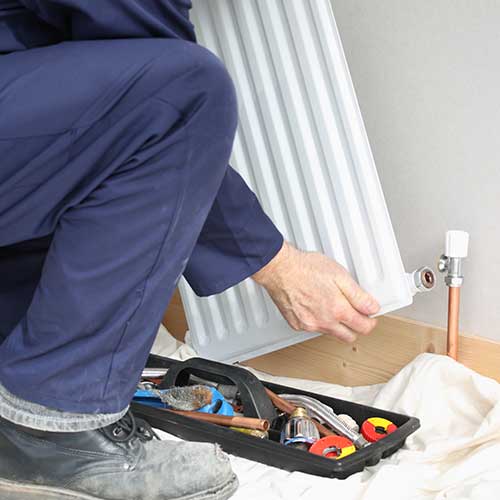
  • Get your boiler periodically checked. Once or twice a year should do the trick.
  • If you need your boiler serviced by gas safe registered engineers 

What If My Boiler Is Not Leaking Water, But Gas?

If this is the case, then you must know that this poses a much bigger risk than just water leaks. Unfortunately, for such cases, you almost always can’t tell if it’s happening. This is because natural gas is odourless, despite gas manufacturers usually adding in some chemicals for gas to give off the faint smell of sulfur or rotten eggs. However, you don’t have to worry, as there are other ways to tell if there is a gas leak in your home

If you suspect your boiler has a gas leak, make sure to switch off your gas supply, open all your doors and windows, vacate the premises, and call the National Grid Gas hotline at 0800 111 999. Make sure all electronics are turned off and that there are no naked flames in your property’s immediate vicinity.

Final Thoughts

While we have already stressed it enough, do not attempt to replace or repair your boiler on your own. Yes, DIY-ing this would save you a few hundred bucks, but what good would that be when there’s a much bigger risk of you aggravating the problem instead of providing a solution? Gas safe engineers exist for a reason, so leave it to the professionals to get it done!

The DIY Guide On Pressurising A Boiler

repressurise boiler

It might take a while getting used to not having hot water available in your piping system, but it entirely becomes a pain when winter comes, and you’re left with only cold water to deal with. This may lead to chattering teeth after a good shower and general discomfort among the members of the household. So, you check for a problem and realise that your boiler pressure has been going down. I imagine the first thing you did before anything else is google “repressurise boiler,” and that’s what has brought you here today. So here’s our little gift for you, a short how-to on how to get that pressure working back to its best form. 

Checking the boiler if the water pressure is low

To assess if pressure really is the problem, start by checking the gauge for water pressure in the boiler’s facade. To make sure that you are looking at the right gauge (because different makes and models tend to display this differently), check the user instructions provided when you bought the boiler. 

A digital gauge will either show only 1 bar (reading here is quantised as bars) or an alarming sign such as a flashing reading or a pressure warning. Hydraulic gauges, on the other hand, show only red sections or zones both on the left and right side of the display dial. An indicator needle lying on the far right red zone indicates that the water pressure is high, while if the needle is on the far left red zone, it means that the water pressure is low. 

How to find out your boiler’s correct water pressure

The best possible pressure to reflect on your gauge would be something between 1 and 2 bars. For reference, a cold radiator will show only 1 bar. If the pressure reads 2.75 bars or higher, it is indicative of dangerously high pressure, and anything lower than 1 bar is considered low pressure. It’s quite dangerous to have your boiler keep such a high pressure as this may be signs that the boiler’s pressure release system is broken or there’s too much water in the heating system. For such cases, always consult professionals so as not to endanger your entire household.

To make a booking or to find out more about our services!

A few instances that may be the cause of your low water pressure

There are only two common mishaps that occur in your boiler for it to have low pressure:

You just conducted radiator bleeding – For case 1, it usually occurs after water from the central heating system is let go. By bleeding radiators, you release water from your central heating system. Sometimes, this could cause low boiler pressure. Fortunately, this could be easily remedied by when you repressurise the system. 

Your heating system has a leak – For case 2, there might be a hard-to-find leak somewhere in your central heating system that’s the cause of boilers losing pressure. If you check the pipes, the boiler, or the radiator, you may notice damp spots around. These are usually small hence the slow drop in pressure on your boiler, as you may have noticed. 

Also, please do not attempt to check for a leak inside the boiler – it’s too dangerous. Please leave the job to a Gas Safe registered plumber or heating engineer instead. If you may have found any leaks, do not hesitate to contact an engineer to have it fixed to save you time and money. 

A Step-by-step guide on repressurising a boiler

There are two ways to increase the pressure on your boiler, depending on its the make and model. So make sure to check your boiler’s user manual before proceeding. You may opt to search for yours online if you seem to have misplaced your copy. You may also opt for something visual; manufacturers usually put up videos of a DIY fix that can be found through a quick google search.

FIX 1: To repressurise your boiler with a filling loop

  1. Switch off the boiler and leave it to cool.
  2. When cool to the touch, check on the filling loop or filling hose to see if both ends of it are correctly connected to the boiler.
  3. Open the two valves on your boiler and wait to have cold water from your mains fill it.
  4. Leave the valves open for a while. When the pressure hits 1.5 bars, close both valves subsequently.
  5. Try powering on your boiler again. In some cases, electric boilers have reset buttons so you may also opt for that.
  6. Check the pressure gauges to see if you have successfully topped up the pressure. Watch the pressure rise. 
  7. Once the pressure on your boiler has reached the optimum level, take out the filling loop or filling hose from the system and make sure the water caught in it doesn’t spill.
  8. Dry out the filling loop and store is a safe place until needed again.

FIX 2: To repressurise your boiler with a repressure key

  1. Switch off the boiler and leave it to cool.
  2. Underneath the boiler, look for a concealed tray that houses the key and its slot.
  3. Insert the key and make sure it lines up on the unlock position or the “open padlock” engraving on the slot.
  4. Give it a push and turn it to the locked position or the  “closed padlock” engraving.
  5. Make water flow into the boiler by turning the white square nut in a clockwise direction. 
  6. Let the water in until it reaches a pressure of 1.5 bars. After this turn, the nut in a clockwise direction again to stop the water from coming in. 
  7. Push and turn the key back to the unlock position or “open padlock” engraving. Some water may fall off the boiler; it’s normal.
  8. Power on the boiler again. Again, check the pressure gauges to see if you have topped up the pressure. If the pressure reads an ideal level, then your boiler is up to the task of once again heating your home!

How many times should I repressurise my boiler?

You may conduct this every time you find the pressure is low. However, repressurising the boiler should only be done once a week at the maximum. If you seem to be conducting this too often or too regularly, might as well outsource for help as water damage, as well as further damage to your boiler, are both bigger problems to resolve.

To avoid this from happening, do consider having annual boiler checks just to see if your boiler is in tiptop shape! If you doubt you could do all this by yourself, it would always be best to have a Gas Safe engineer do this for you instead. After all, boiler repairs cost less than having to purchase a new one and pay for boiler installation services when you cause irreparable damage to your boiler. So, don’t hesitate to call a professional today!

Tips to Help You Fix a Leaking Radiator

Leaking Boiler

From the pre-historic hearths and Korean Ondol to the Franklin Stove and British steam heating systems, indoor heating has been a prominent feature in different countries. For as long as autumn and winter left people yearning for warmth, heaters were a necessity. When Stephen Gold, Franz Sans Galli, and other manufacturers invented their own models of the radiator, it would be a mainstay in houses for the longest time. Today, these contraptions come in different designs and models but with one commonality. 

All radiators have a copper pipe that is bent back and forth until it forms a metal circuit along the side of your house. Through convection, hot water will move through these pipes and provide warmth. There are three ways radiators can do that:

To make a booking or to find out more about our services!

Dual Fuel Radiators

As the name suggests, this radiator has the option to connect to either the central heating or the main electricity. When the power starts, the heated towel rail can either heat up with the rest of your radiator system or operate on its own via electricity.

Electric Radiators

These types of radiators are deemed energy-efficient as it does not need gas to operate. They have a container filled with thermo-fluid that heats up once the machine is plugged to the nearest power outlet.

Central Heating Radiators

The most common out of the three, central heating radiators are connected to a boiler that heats up the water.

From these, there are different types the market offers:

K1 Radiators

Also called single panel radiators or Type 11, these are the most basic and most affordable out of the four. This feature only has one panel mounted onto the wall and works best in medium or small rooms.

P+ Radiators

K1’s counterpart, this has double panels that are stacked on top of each other with the convector in between. Once they are mounted onto the wall, they are noticeably thicker than the previous radiator. This offers better heating, perfect for rooms on the corners of your house. Being a newer model, they are also called Type 21. 

K2 Radiators

As an upgrade to P+, K2 or Type 22 radiators not only have two panels but also two convectors between them. Because of the added power, this can warm up a large room without needing to be larger in size.

K3 Radiators

These radiators are more heavy-duty, having three panels and three convectors. Perfect for rooms with more space, its panels are more spread out to provide even heating.

Once you have chosen the design that works best with your home and has it set up, maintaining its quality can save you a lot of money. Because radiators have hot water passing through its pipes, leaks are common problems households have had to face for many years. 

A leaking radiator can cause multiple problems. While a leak itself is not dangerous, getting too close to a radiator with hot water spewing from it can cause burns on our skin. If your radiator is leaking and the water seeps into your carpet or the flooring and is left unattended, this can lead to expensive water damage. 

Stay cost and energy-efficient by keeping your radiator clean and leak-free. Simply follow these steps:

Identify where the leak is coming from

Before going anywhere near your radiator, it’s best to place towels around it and prepare a bucket beside you. Having water pour all over the room might be the worst-case scenario but it’s important to prepare for anything that could happen. Another precautionary measure is to wear protective gear around your hands and arms.

When you have all of that in place, get an old towel and pat your radiator and its panels completely dry. Afterwards, get some toilet paper and find the leak by placing it on different parts of the machine. They will come from either of the three: the body of the radiator, the controls (e.g. the bleed point and thermostatic valve), or the pipes that connect the boiler and the radiator.

Repair what can be salvaged and replace what cannot

One of the easiest parts to repair on a leaking radiator is the radiator dashboard. First, take a look at the bleed point. This is meant to release air that has settled inside the radiator. If you find that there is a leaking radiator valve or the bleed valve is moist, try to turn it clockwise. If the screw tightens, that means the valve loosened. 

If the bleed valve isn’t tightening, the cause of the radiator leak is probably at the thermostatic valve. This integral part of the heating system dictates the temperature of the room by controlling how much water will enter the radiator. It slows the water down, stops it, and allows it to flow again when the radiator cools. If you find it leaking, this is most likely caused by the wax inside the knob. When this object expands or contracts according to the temperature, it acts as a sign for more water to flow through. In time, it may wear out and cause leaks when it is partly open. Notice if the leak stops once you fully close the valve.

Since repairing the thermostatic valve needs some expertise, we don’t recommend doing this without prior knowledge and experience. However, if you know your tools, you may try to take your dashboard apart.

First, drain the leaking valve. Next, close the supply and lock valve, noting how many turns it takes. After you undo the union nut and open the bleed valve, make sure to catch all the water that escapes. Take some PTFE tape and wrap it around the valve tip. Afterwards, you can assemble everything back, wait for your radiator to refill, and check if the leak is still there.

If the leak is coming from the body of the radiator, then placing a sealant on it can act as a temporary solution. These holes are caused by black sludge collecting inside that will later create patches of rust. As these parts are irreparable, it is best to seal the hole until a plumbing engineer sees to it.

A leaky radiator is an issue that you do not want to get stuck with. It is also expensive to buy a new radiator, costing you up to thousands of pounds. Before this happens, give us a call so that we can provide maintenance service like draining the insides of your radiator. Not only will this increase the longevity of your machine but also keep it from draining your wallet of money.

4 Common Toilet Problems You Can DIY

toilet problems

“Start with the bathroom.” 

One of the tips seasoned home buyers would often share with the beginners is to check the kitchen and the bathroom. Several factors that add or subtract to a real estate’s appeal are whether or not the craftsmanship is up-to-date, the faucets are running, and the walls are mould-free.

When taking care of your home, these two areas also need special attention, especially when the plumbing needs work. While pipework and other complex systems need professionals to take care of the problem, toilet repair is a skill that homeowners need to learn. Some toilet problems are quite easy to fix! Calling plumbers for a minor issue like a broken faucet or faulty valve can cost you a lot of money, which is why you need to make sure that you know how to repair small problems. If you’re attempting to fix your toilet, here are three things you need to do before fixing a toilet.

Before tackling the remedies, it’s crucial to find out how a toilet works. That way, you can quickly identify when your toilet is acting out of ordinary. 

To make a booking or to find out more about our services!
Take a tour of your bathroom and lift the lid to check inside the tank. The tank holds large amounts of water for when you flush the toilet. Two parts make this whole contraption possible: the flush valve and the refill valve. As their names suggest, these valves help flush the water into the bowl and refill the tank with new water, respectively. The refill valves have four different variations:

Refill Valves

Float cup fill valve

  • a modern design that is usually made out of plastic

Floatless fill valve

  • a modern design that cannot be installed in older water tanks

Diaphragm-type ballcock

  • an older style that used to be made of brass but has plastic counterparts

Plunger-type ballcock

  • the oldest type that is typically made of brass
When people flush toilets, the handle or button pulls a lever that lifts the ballcock or refill valve. The lever allows the stored water in the tank to flow through the flush valve and out into the toilet bowl. Because the water comes in large volumes, it pushes the wastewater into the home drainage system and, eventually, the sewer lines. Once the tank is emptied, whatever the model may be, the refill valve opens the water supply valve. As the tank fills up, either a floating ball or cup rises with the water level. Floatless fill valves, however, shut off the water supply automatically when the water pressure reaches a certain level. Even if the names are hard to remember, watching the whole system work from your water tank helps. Now, let us use this knowledge when tackling common toilet scenarios that you may encounter. Don’t worry; these are easy to remedy: This first step is extremely vital to the success of your DIY repair. By making sure the water supply is turned off, you are preventing any kind of further damage that may be caused by the leaking water. Aside from the damage, this can cause to your walls, ceiling, and carpet, you could also end up paying for the removal of damaged furniture together with the cost of replacing it. Additionally, turning off the water supply will also help prevent you from making too much of a mess during the repair.

The Toilet Won’t Flush/Handle Is Broken

One of the most straightforward fixes to make is a broken toilet handle. Test the handle once or twice and check if the lever lifts quickly or not. As this can be a sign that your handle may be too tight or loose, you can adjust the nut counterclockwise to tighten it or clockwise to loosen. Sometimes, the lever might have gotten disconnected from the handle. In this case, simply reconnect the lever.

The Toilet Won’t Stop Flushing Water

Commonly called “phantom flushes” by plumbers, you will know this is happening in your toilet tank refills water on its own without prompting. Once you see that water is trickling into your bowl, this means that the flapper or toilet flusher covering your flush valve is faulty. To remedy this, drain the toilet tank of its water and check the flapper. If it’s damaged, make sure to replace it with a new one. You’ll immediately see the results with your month’s water bill

The Toilet Tank Won’t Stop Refilling

In cases where the flapper valve is working well, and you hear long hissing sounds coming from the tank, it’s time to check the refill valve. Because this hissing sound is usually caused by water coming into your toilet tank through the supply valve, letting this issue prolong may cause overflowing and other messier problems for your household, even a flood. Removing the lid of the tank, check these three things: the float, the refill tube, and the ballcock. Check first if the float is stuck to the side of the tank. After that, make sure that the refill tube is only extending about 1/4″ below the overflow tube. These two tubes work together to supply the tank’s water and keep the toilet tank from overflowing. Finally, check if the ballcock automatically shuts off the water after flushing the toilet. Once you find the cause of the problem, make sure to adjust or replace any of the items. You may also choose to bend the arm that holds the float down to shut off the water supply. This “fine-tunes” your float ball to shut off the water at a specific level.

The Toilet Is Clogged/Toilet Not Flushing

One of the homeowners’ worst nightmares, clogs are the most common toilet dilemma. Purchasing a force-cup plunger is a better investment than the standard ones most houses have. Insert the bulb down the drain and pump the lodged object through. Without pulling the bulb out, inspect whether the drain is clear. If the toilet remains clogged after a few repetitions, use a closet auger. Make sure not to scratch the sides of the bowl as you twist and push the rotor downward. Even the best toilets encounter these problems. By learning how to DIY these solutions and repairing your toilet, you will not only save yourself money, but you will also learn new household tricks. If these toilet issues continue, however, you may want to call for a professional to help you out. You can check here for the qualities you must look out for in an emergency plumber. You may either find a one via community listings, ask for a recommendation from your neighbour, or give us a call, and we will be on our way.

SIX SIMPLE STEPS TO DRAIN YOUR CENTRAL HEATING SYSTEM RADIATOR

radiator_plumber

When owning a central heating system, one must also understand that cleaning the machine is vital for it to last long. To save money, you don’t have to hire a plumber or get a radiator draining tray kit, here are some DIY tips on how to drain radiator fluids without having to drain the whole system!

Now, to ensure that your radiators continuously work effectively, we offer you six easy steps to drain your heating system:

Gentle reminders!

  • Before completely draining your central heating system, always make sure that you switch the system of the boiler off and wait until the pipes heading to the radiator cools down entirely.
  • Let your radiator cool before draining it for restoration or replacement.
  • For a combi-boiler, turn it off and exhaust the fluids once it is cool enough. But if you have a conventional heating system, isolate the water first then access the header tank before turning off the boiler.
To make a booking or to find out more about our services!

STEP ONE: LOCATE THE RADIATOR, THEN DRAIN

What you need: (2) folded towels and (2) buckets or basin

  • Look for the pipes on either end of the radiator—The end with the regulator collects the hot water from the boiler, while the other end with the lockshield valve, transmits it back again.
  • Position the folded towels under the regulator and lockshield controllers. To catch the excretion from the loosened pipes, set two buckets on top of each towel.
  • For the radiator sludge collected, we advise you not dispose of it anywhere near your garden or flower bed as the chemicals from the inhibitor may kill your plants.

STEP TWO: SEPARATE RADIATOR AND HEATING SYSTEM

What you need: Pliers or adjustable spanner

  • The radiator and the heating system must be separated by closing the two valves.
  • For the regulator, rotate it in a clockwise direction.
  • For the lockshield, remove the small-cap to access the valve itself and set it in a container for safe-keeping. Then use the pliers to tighten and close the lockshield by going clockwise.

STEP THREE: OPEN THE BLEED VALVES

What you need: An instrument that will open the bleed valves

  • Check the set spanner to make sure the faces are all square. Don’t use an adjustable spanner for it may glide and impair the radiator or even injure your hands.
  • The wrench or spanner must fit both union nuts tightly. Check if there are points where your grip might collide with something if the spanner slips. Use a tool that will open the radiator bleed valve in two turns.

STEP FOUR: UNDO THE UNION NUTS

What you need: bucket or basin from before and absorbent cloth

  • Undo and loosen the union nut on the regulator side.
  • Check if the bucket or basin is still situated in its place under the union nut, and have someone on standby with an absorbent towel.
  • Fit the spanner onto the union nut on the regulator side of the radiator and let someone steady the pipe for you. At the same time, twist the nut carefully counter-clockwise a quarter turn until the water pours into the bucket or basin.
  • Don’t pressure yourself by speeding the process of draining the radiator; let it be.
  • Tighten the union before it gets full and remove the fluids before you continue. If the water flows unwillingly, open the radiator bleed valve slightly to give the partial vacuum a gap.
  • Let the fluid flow until your radiator is empty.

This is usually where most how-to guides end. However, after you bleed your radiators following these steps, chances are there will still be some fluids left over from the process. To completely rid your radiator of sludge, you may want to consider the following steps:

STEP FIVE: ENTIRELY REMOVE COUPLINGS FROM THE UNIONS

What you need: Adhesive tape

  • Unbolt the nuts from the radiator on the side of the regulator then gently extract the supply pipe a bit far.
  • Conceal the pipe thread with adhesive tape to secure it from any collisions.
  • Remove the nut carefully on the lockshield side of the radiator. Beware of any excess fluids coming out.
  • Cautiously put the drain pipe away and shield the pipe thread the same way you did the regulator end.

STEP SIX: DISLODGE THE RADIATOR AND EXHAUST THE REMAINING WATER 

What you need: bucket or basin 

  • Simultaneously, shield the holes where you removed the pipes with one hand and use the other to drag the radiator upwards away from the wall bracket.
  • Drain the last of the radiator water into the bucket or basin. Once finished, you may close the bleed valves and start reassembling your central heating radiator.

To get you fully prepared for this DIY task, check out this basic DIY video below:

While bleeding your radiators seem like an easy task you can totally do yourself after reading a couple of DIY tips, it is still best that you hire a professional to do the job for you. It does not only assure you that your radiator and pipe fittings remain safe and in one piece, but also ensures your safety and the safety of everyone else in your household. 

How To Change A Tap Washer: A Guide

faucet

There is nothing more frustrating than hearing “drip, drip, drip” from your kitchen sink or bathroom tap nonstop. And, as much as you’d want to ignore it in hopes of it going away, leaving your faucet to continue dripping and leaking all over your sink will not make that dripping sound stop. Look, a dripping faucet usually means that there is something wrong with your tap washer. And luckily for you, replacing the washer is not as difficult as it seems. “But, I don’t know how to change a tap washer!” you might say. Well then, you’ve come to the right place! Today, I’m going to be giving you a series of steps you can follow to get your leaky tap fixed and running in perfect order. 

To make a booking or to find out more about our services!

But, before we begin, don’t forget to check for the following:

  • What type of tap you are using 

One thing you should know is that there are different types of taps out there, and knowing which kind is extremely vital. This guide is for traditional taps which use rubber washer, and not modern taps which use ceramic discs. 

  • You have all the equipment you will need

For this particular project, you’ll be needing a flathead screwdriver, an adjustable spanner or wrench, a piece of cloth, and of course, the spare washer. Rubber washers are available at almost any hardware store and even online

  • Your water supply is turned off

Before you begin any type of plumbing work, whether it be on kitchen sinks, a shower head, any kind of bathroom furniture, and water taps, you will have to make sure that you cut off the flow of water to your sink. Otherwise, you will be spraying water everywhere, and nobody wants that! You may do this by turning the valve that is located under your sink. If your sink does not have an isolation valve that directly cuts it off from the water supply, you will have to turn off your water main. Additionally, if you’re replacing the washer on the hot water tap, make sure to turn off the boiler, too. 

  • Your sink is plugged

Replacing washers involves a lot of screws and small parts from the inside of your leaky tap. So, to make sure that nothing falls down the drain, make sure to plug your sink. To make sure the surface of your sink is protected from any potential damage while making the replacement, you may want to cover your sink basin with a cloth or old towel. 

Once you’ve got all that checked and done, you may now begin the repair! Here are some easy steps to help you out:

Pro-tip: Whatever you take apart, you will put back together later. So, do not forget how the components are ordered before disassembling the tap. You may want to lay all of your tap’s components and screws in the order in which you have removed them. This will make reassembling the tap much easier and faster. 

Step 1: Remove the tap head

Removing the tap head, tap handle, or the top of the tap, can be easily done by undoing the screw holding it in place, and then prying it open using your flathead screwdriver. This will expose the inner workings of your tap, or more specifically, your tap’s valve. 

Step 2: Undo the valve

Remove the valve with your adjustable spanner. If you find that your tap valve is stiff and difficult to remove, you may either hold on to the tap spout for leverage or wrap a piece of cloth around it before undoing it with your wrench. 

Step 3: Replace the tap washer

Once you have removed the valve, you will find your tap washer. It would usually be held in place by a screw or a nut. Undo that, and then remove the tap washer. You may either pry it off using the screwdriver or spanner. If neither works, consider lathering some oil around it. Try again. Once you have removed it from the rest of the tap, feel free to examine it for any kind of damage. Chances are, you will see some cracks that represent its wear and tear. 

It is also important to note that your replacement washer should be compatible with your tap. To make sure that you get the correct kind, you may opt to disassemble your tap before getting a replacement, Otherwise, be sure to refer to a professional or read through a DIY forum to get an idea on how your tap washer could look. 

Once you’ve got this all sorted out, all you have to do is reassemble the tap!

Step 4: Reassemble the tap

Screw the valve back into place. Make sure not to screw it back on too tightly, or might damage the tap. After this, fasten the tap head or tap handle back on. Ta-da! You’re done! You’ve successfully changed a tap washer! Now, you may turn the water supply on and observe for any more leaks. 

Alongside this guide, you may want to consider watching DIY Videos on changing tap washers like this one:

How do I prevent this from happening again?

Unfortunately, preventing leaking taps is almost impossible when you’re using a traditional tap with a rubber washer, as rubber tap washers naturally go through wear and tear over time. If you want to reduce the frequency of having to make DIY repairs on your tap, though, you may consider switching over to a modern tap which makes use of ceramic discs instead. Ceramic discs are much durable, meaning you wouldn’t have to change them as often as you would a rubber tap washer. 

What if my tap continues leaking?

If your DIY project does not stop your tap from leaking, you may want to check the valve as well, When your valve is faulty, chances are, the tap seat and the washer wouldn’t be able to function properly, no matter what. 

If this does not work, you may want to leave it to a professional or consider replacing your tap altogether.